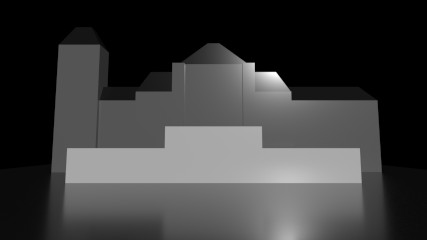
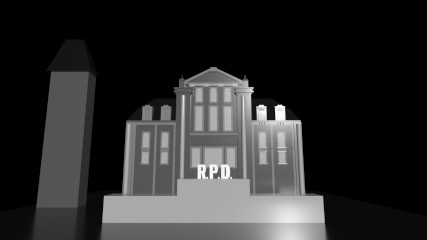
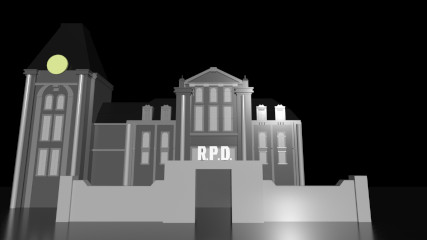
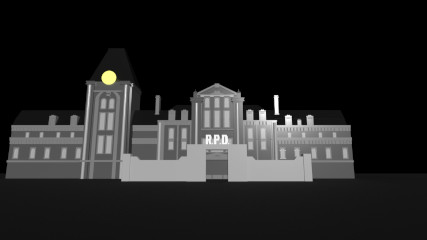
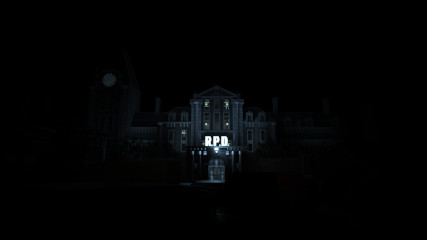
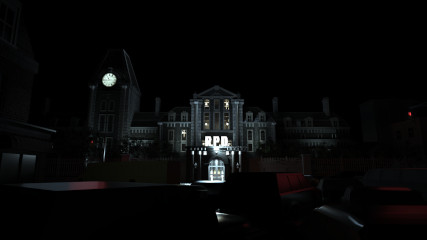
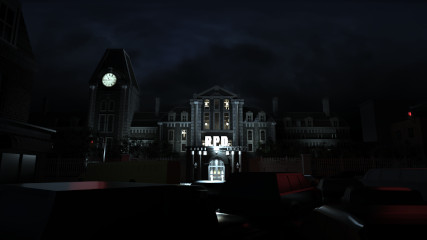
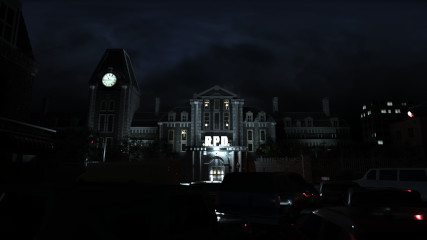
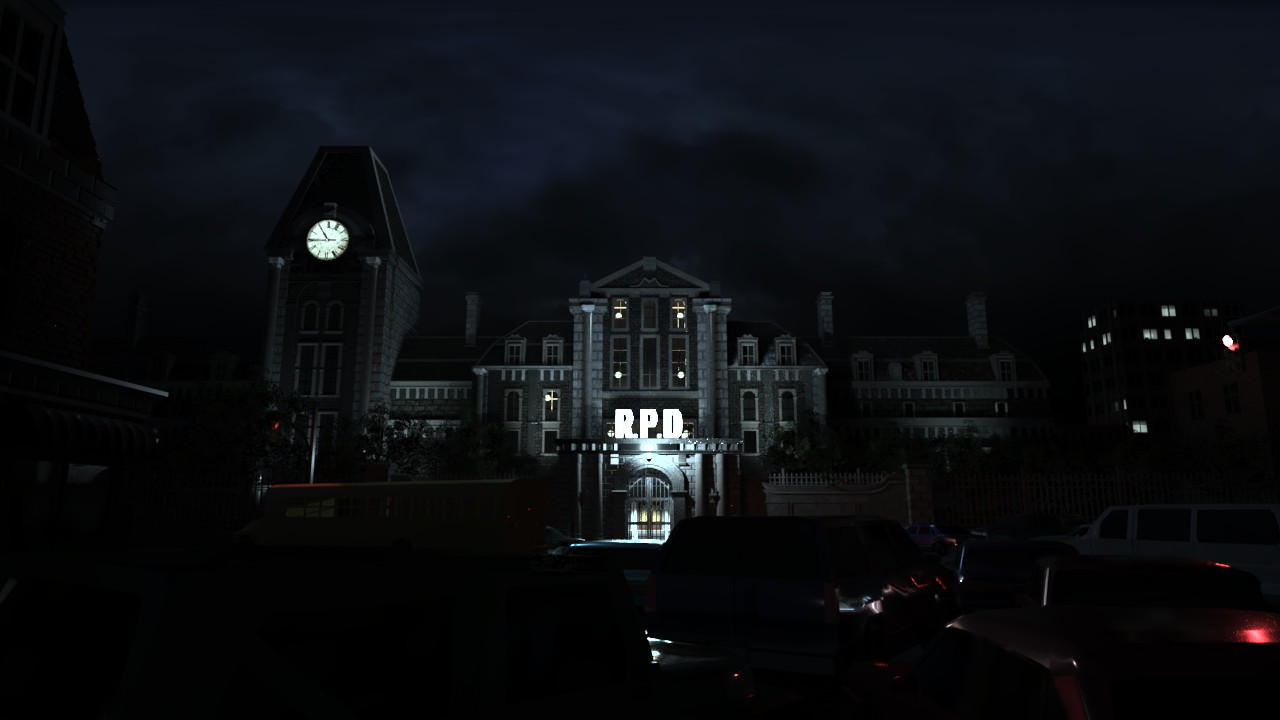
RPD Recreation
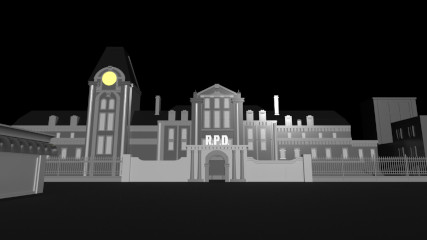
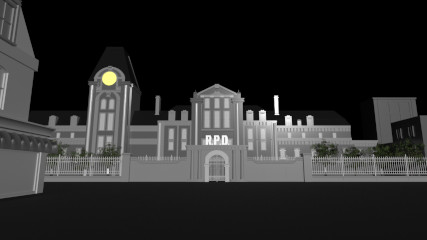
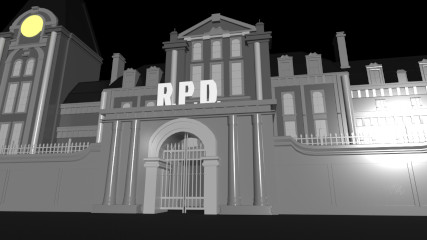
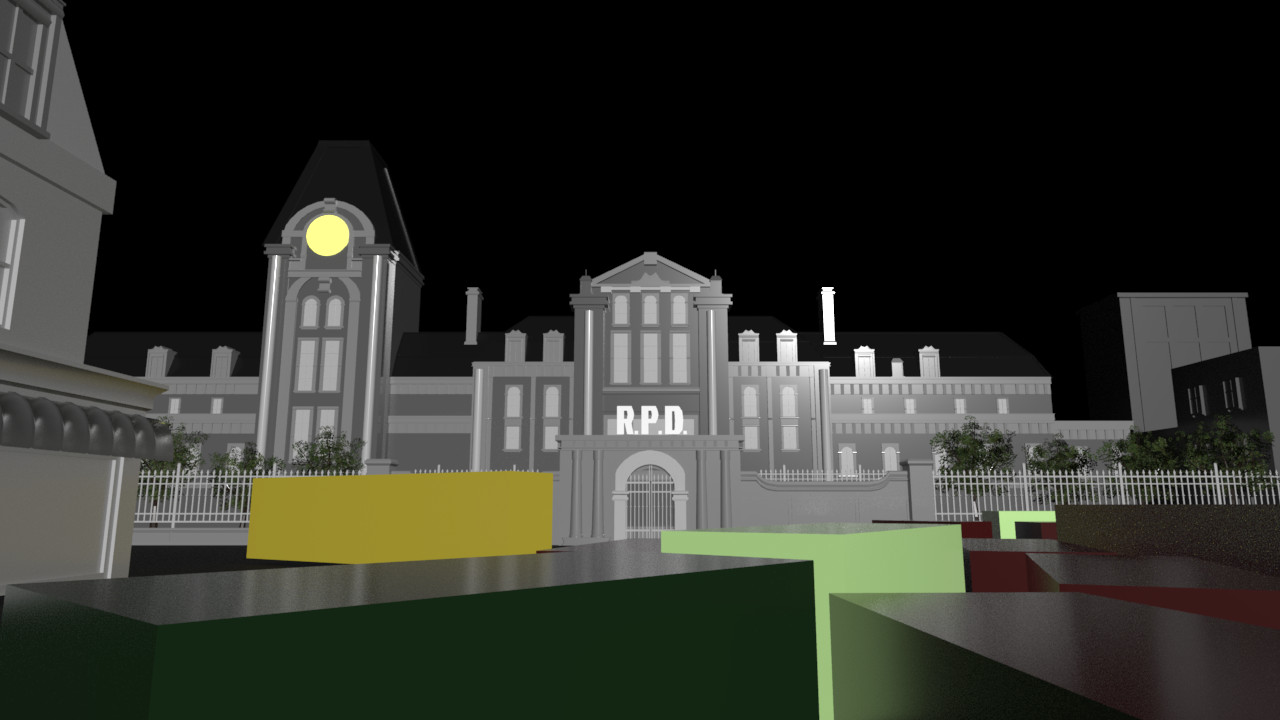
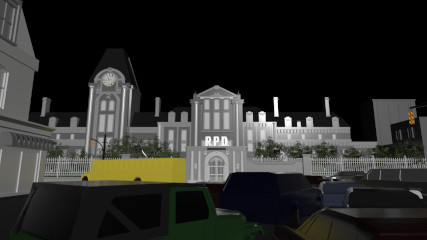
Remaking the exterior of the RPD from Resident Evil 2
Being a massive fan of the Resident Evil games, I really wanted to model an environment from one of that games to see how well I could recreate it. I settled on going for
the RPD exterior from the remake of Resident Evil 2 (Capcom, 2019). I believe that this was a good choice for me as the majority of my work before hand is made up of different styled
interior environments and I had never made a large scale exterior before. The mix of the dark night, having a variety of vehicles and also some foliage too, gave me a variety of modelling
oppurtunities to experiment with in order to recreate the setting to a high standard.
A benefit from doing this as well was that I was able to directly compare myself to what is a high industry standard and see how well I was at meeting this level of quality.
Genre: Exterior Environment
Software: 3DS Max
Development Period: Approx 1.5 months
Type: Still Render
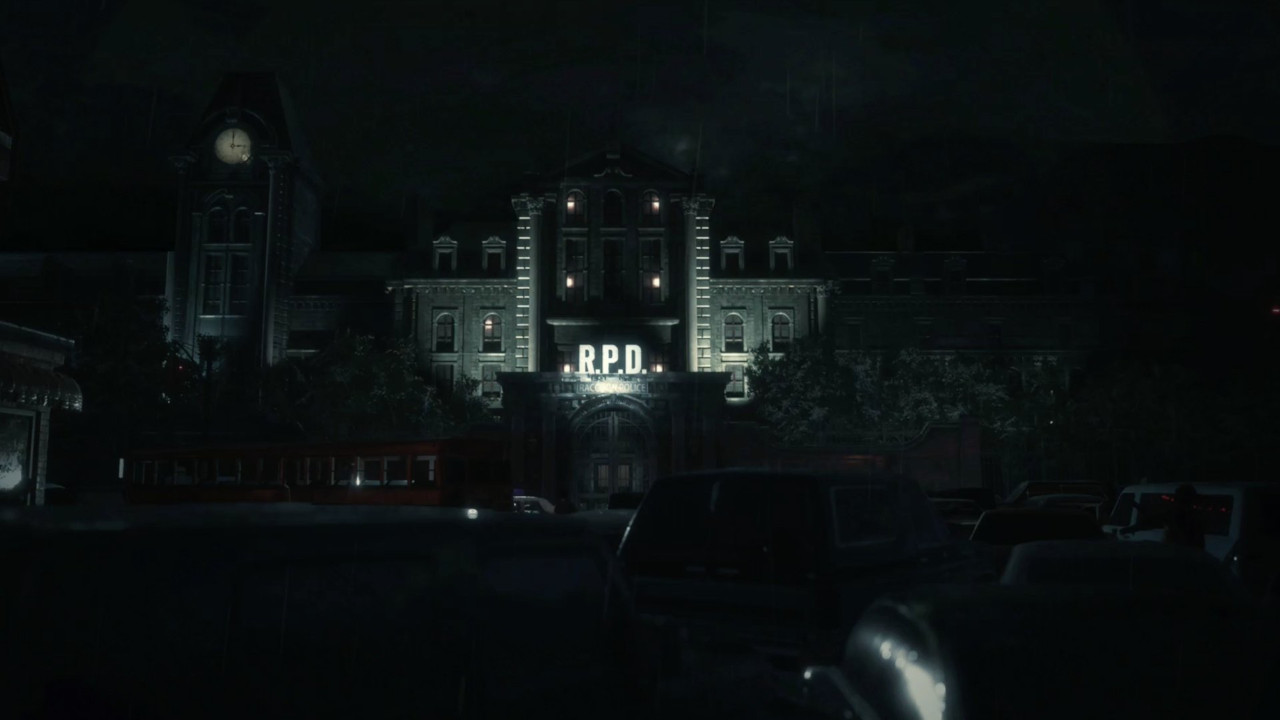
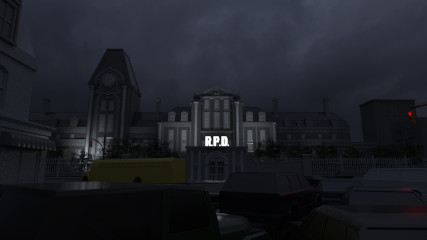
Resident Evil 2, RPD Exterior, Image taken inside the RE Engine.
DOCUMENTATION
Environment
Did good job, Looks very alike the source material.
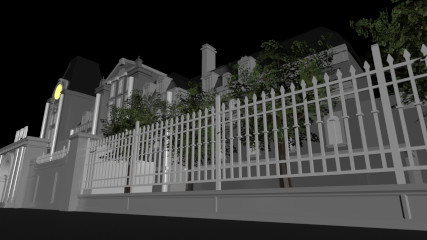
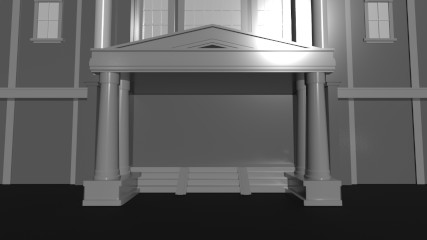
Small details even to help give some extra depth to the closest building on the left. The idea for this came from when I was playing Sekiro: Shadows Die Twice(FromSoftware, 2019), I noticed
while hanging from certain rock walls, that the main portion of the wall was flat but then the edges had actual modelled rocks to give the illusion that the
whole wall had the same amount of depth. This is something I really enjoy doing while playing games, in a moment where I can be still and there's no action or anything,
I love to look closer at the models to see how they made certain things and give the impression of realism, so that I can use these ideas in my own work.
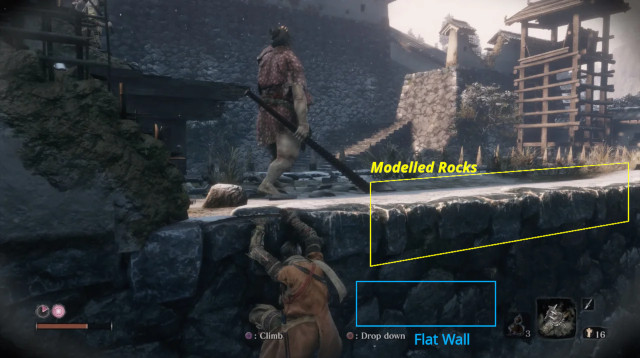
Screenshot from Sekiro, highlighting the edge rocks being modelled and the rest of the wall being flat.
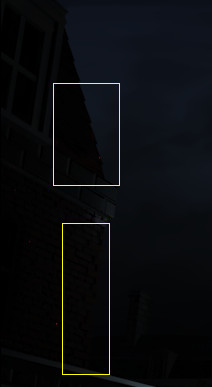
In the yellow sqaures here is where I used the technique that I discovered in Sekiro.
Car Modelling
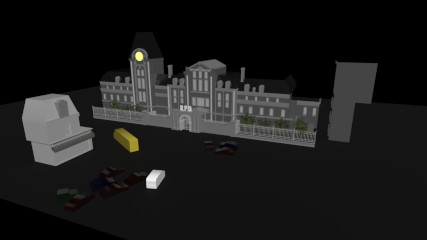
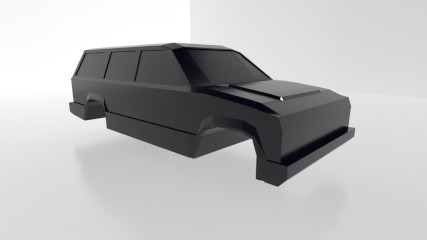
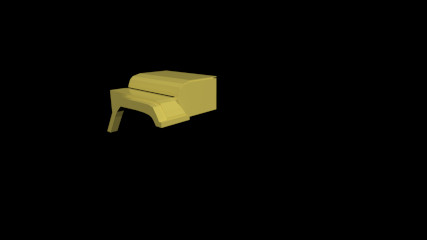
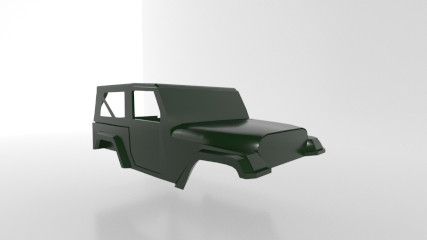
Since my only experience with modelling vehicles had been with my Neon City project in third year, I felt like this would be a good opportunity for me to revisit modelling cars. I believe overall,
about 40% of the modelling time for this project was spent on the vehicles themselves. I spent a lot of time trying to accurately recreate the shape of all the different cars as possible. However
despite my best efforts I feel that they all still look a bit incomplete, or not as realistic as I would like them to be, even though I spent some time learning
about modelling vehicles as well as using Car Paint materials to try and help the realism of the vehicles.
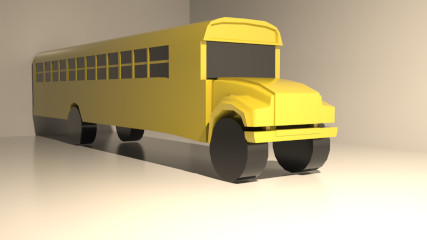
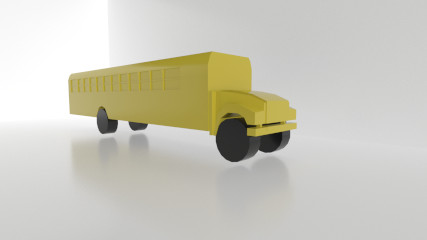
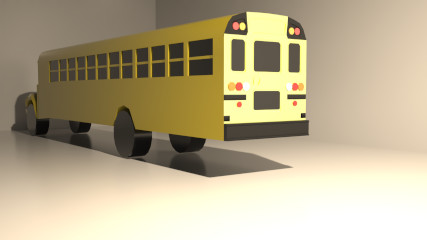
Work In Progress Bus Model
I think one thing that may help improve my vehicles is if I texture them using real world images of the cars for things like headlights, tailights, plates etc. It might be the missing piece that I need for my vehicles to feel real. I feel that no matter how much I model the
vehicles to the best of my abilities, I was never happy with the result of the textures. After this project I will spend some time on one vehicle and try to recreate it as realistically as possible as it is an area I need to
practice.
Imagers
I love to render every so often as I am modelling and texturing so that I can see the progress I am making, as it helps to keep me motivated in my work. I noticed
that when I reached the lighting stage of the rendering that there was a lot of noise between the light and dark areas and I had no idea how to remove it. I spent a little time searching for
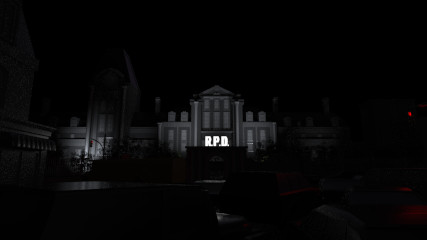
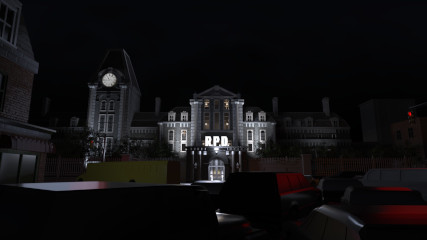
solutions and discovered Imagers and began learning how to use them to improve the final results of my renders. Using things such as Denoiser, Colour Correction, Vignette
and a lot more to post-process my renders in engine. I used these Imagers to help create the right exterior look that I wanted.

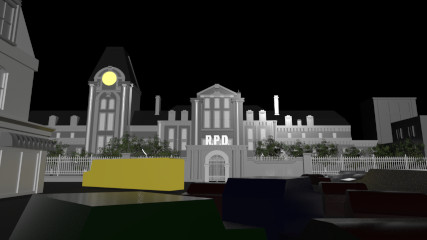
Without Imagers With Imagers
Foliage
The Trees were also a bit of a challenge for me too! I had never tried to create any sort of foliage before, so this was a bit of an experiment for me. Trying my best to create something that looks aesthetically pleasing from a distance.
I feel that from the distance that the trees are viewed from, I was successful in creating the the trees.
However, in hindsight I've realised I can recreate the same trees with a smaller poly count as from this distance, the bends
in the branches are very hard to see, so I would have been able to have one single poly for each group of leaves, rather than around 8 polys that have had all their vertices moved to make it look more natural.
This was a good learning oppurtunity for me as I have never really attempted foliage or more natural objects in my work.
Self-Reflection
Areas that I believe that I did well on during the process of this project;
This will help me to a lot of post processing things in 3ds Max itself without the need for a second source. However I feel that a second source might be needed even if for just 1 or 2 aspects.
With what I learned I was able to go back to my Saw Render and used some Imagers to help polish up the final render for it as well which was nice.
These are some areas that I believe I could improve upon.
I want to take time outside of this project to practice and learn how to model better vehicles.
I will continue to learn about foilage and ways to model more organic things in nature.
Adding things like the rain and perhaps a couple of burning vehicles may have boosted the final render.
© All rights reserved
